
Project Playbook: Educator Edition
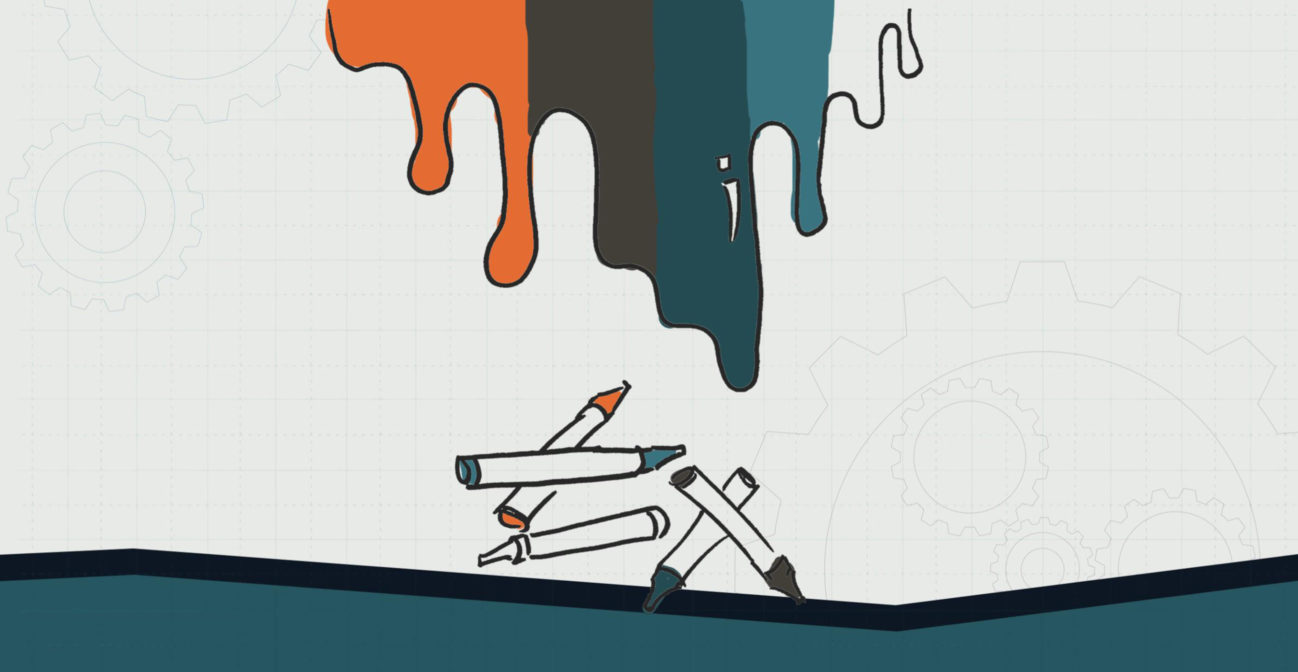
Melted Crayon Painting
Explore properties of matter and their engineering applications.
ELEMENTARY SCHOOL – LEVEL 3
Crayon painting is a unique and cool way to make one of a kind art from basic, affordable materials. Use your creative eye to lay out the color scheme you want to make. Refer back to the color wheel from our earlier lessons to pick shades and combinations. When you’re done, you’ll have a beautiful, vibrant painting to hang on the wall at home.
MATERIALS NEEDED:
❏ Crayons — lots, and many colors
❏ Canvas or wood surface
❏ Hair dryer or heat gun
❏ Hot glue gun
DIRECTIONS:
- Remove the labels from the crayons and lay them out in the order you want.
- Glue the crayons facing down from the top of the surface. You want to have a solid line of crayons covering the whole top of your canvas or wood surface.
- When the glue has dried, place it in direct sun for about an hour. Have the canvas standing up against something so the crayons are on an angle. After an hour they will have softened a bit from the heat.
- Use a heat gun or blow dryer to melt the crayons, letting the wax slide down the canvas. After some time, and a lot of melting, you will be left with an amazing, one-of-a-kind piece of art.
OBJECTIVE: Students will be able to conduct a variety of tests to see the effects of heating or cooling crayons
ESSENTIAL QUESTION(S):
- What effect does adding or removing heat have on crayons?
Video: Watch this Project in Action
ENGAGE / EXPLORE
- Provide students a variety of colored crayons
- Ask students to conduct several tests to see the effect of heat on crayons
- Students should collect data
- What they look like before/after
- Is the process reversible?
- Should include single color and mixing color tests
- Students should collect data
- Students make conclusions based on evidence
- Evaluate
- Identifying evidence
- Are their claims supported?
- Reasoning and concluding
EXPLAIN
- Hold a discussion with students of physical vs chemical change
- Video on chemical vs physical change
- Students should practice identifying chemical vs. physical changes
- Evaluate
- Comprehension of chemical vs. physical change
- Identification of supporting evidence for each change
ELABORATE
- Students use crayons and other materials to produce a small painting
- Find unique ways to use crayons and their change process to produce art
- This can include melting and cooling crayons to create unique color patterns
- Melting crayons and allowing to solidify to create 3D shapes and structures
- Evaluate
- Students identify their techniques used by making a claim
- Support their claim from evidence in their art
- Draw conclusions about the type of changes undergone in their process and reversibility of their art
- Find unique ways to use crayons and their change process to produce art
EDUCATIONAL STANDARDS
NGSS CONNECTION:
2-PS1-2. Analyze data obtained from testing different materials to determine which materials have the properties that are best suited for your intended purpose.*
2-PS1-4. Construct an argument with evidence that some changes caused by heating or cooling can be reversed and some cannot.
COMMON CORE CONNECTION:
ELA/Literacy
W.2.7 Participate in shared research and writing projects (e.g., read a number of books on your topic to produce a report; record science observations).
W.2.8 Recall information from experiences or gather information from provided sources to answer a question.
Mathematics
MP.4 Model with mathematics.
MP.5 Use appropriate tools strategically.
DOK:
Level 3: Strategic Thinking
Level 4: Extended Thinking